Growing Tips: 2

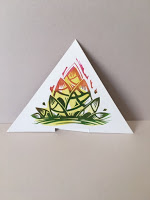
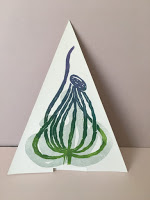
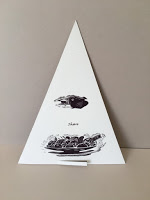
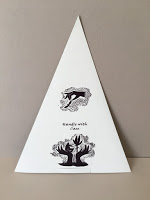
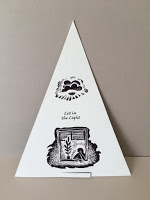
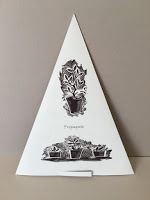
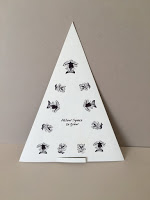
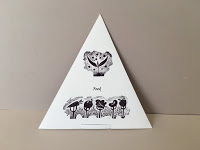
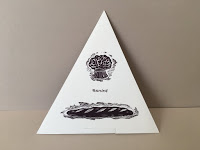
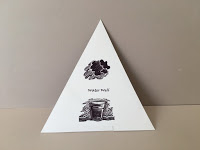
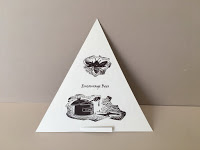
The word “Tip” has several meanings. The tip of something, advice in small chunks and to incline. So I decided, on the reverse of the lino plant tips, to make some small illustrated “tips” about how both humans and plants might flourish. We need very similar things really, plants and us; light, water, care, space, nourishment etc etc.


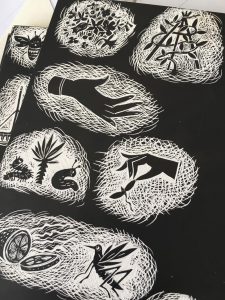
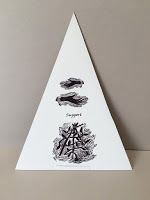
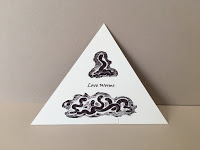
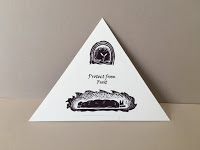
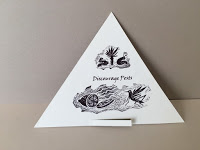
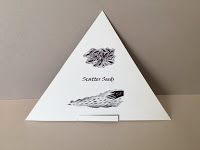
In any garden there are also pests and helpers.. as there are in human life too! So these had to be added. 🙂


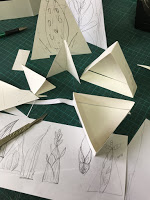
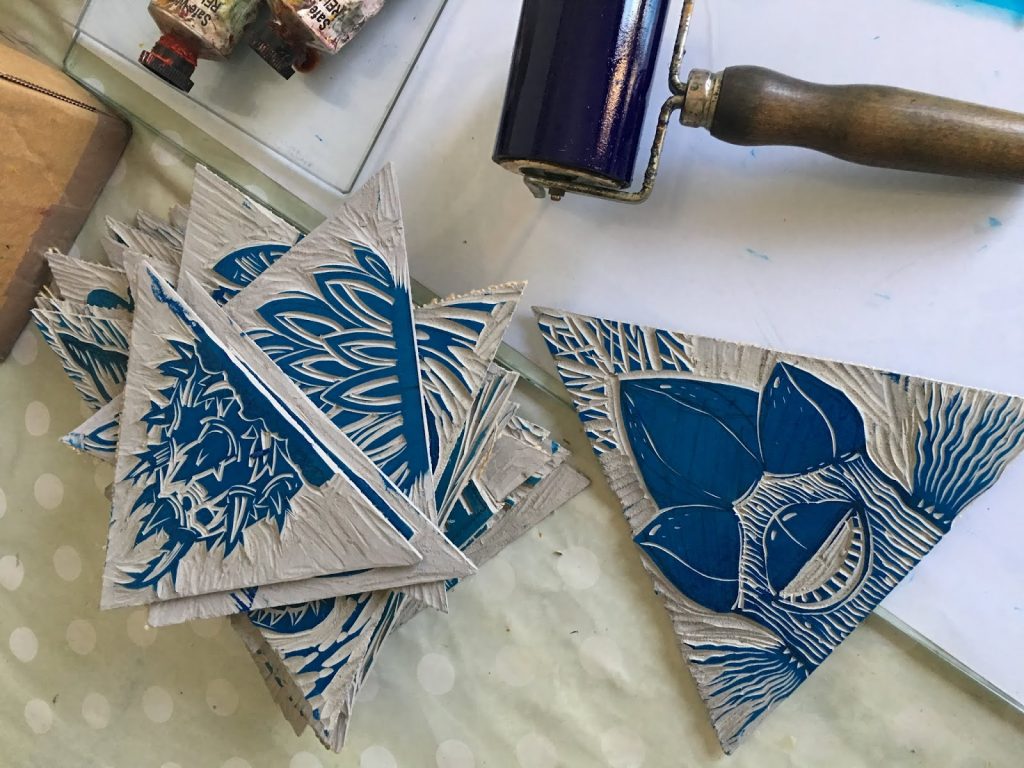
The reverse side illustrations were done on scraperboard and scanned and printed alongside the type. It was very simple in one way but the construction was not so easy. I tried different card weights and stocks, printing on different papers and trying adhesives until I had a compromise which worked well.

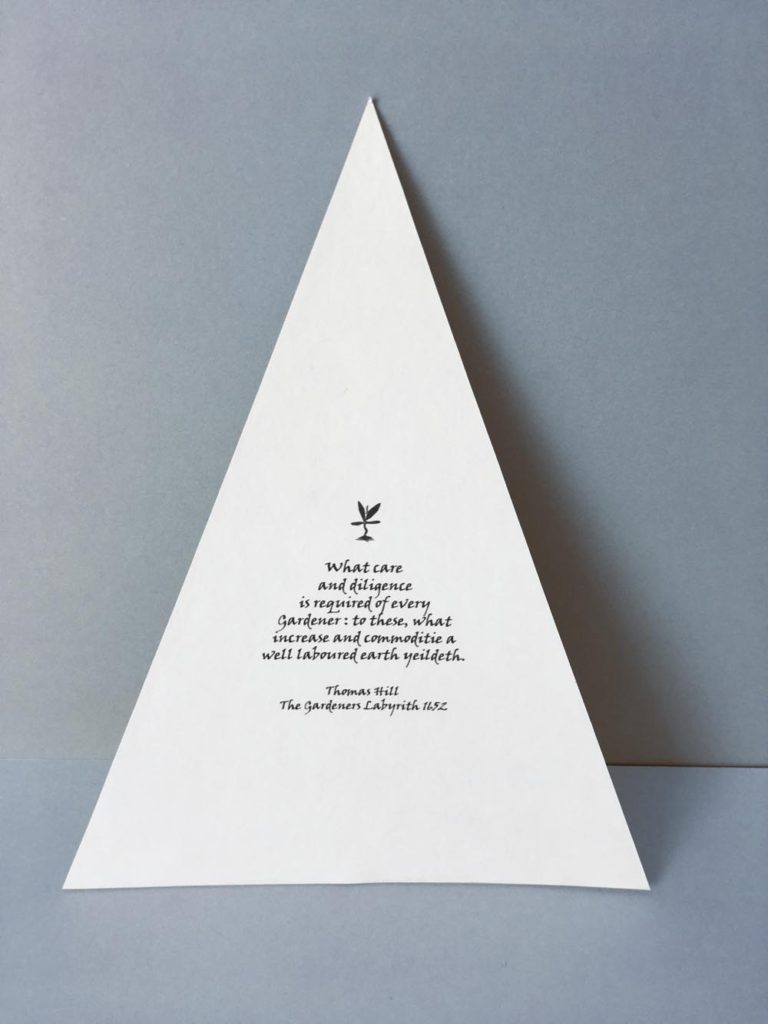
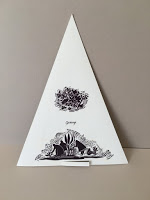
The text for the first page of the tips is from the wonderful Gardeners Labyrinth by Thomas Hill 1653. A very favourite old gardening text book of mine.

“What care and diligence is required of every gardener: To these what increase and commoditie a well laboured earth yeildeth”

How very true...A little TLC goes such a long way with both plants and people.

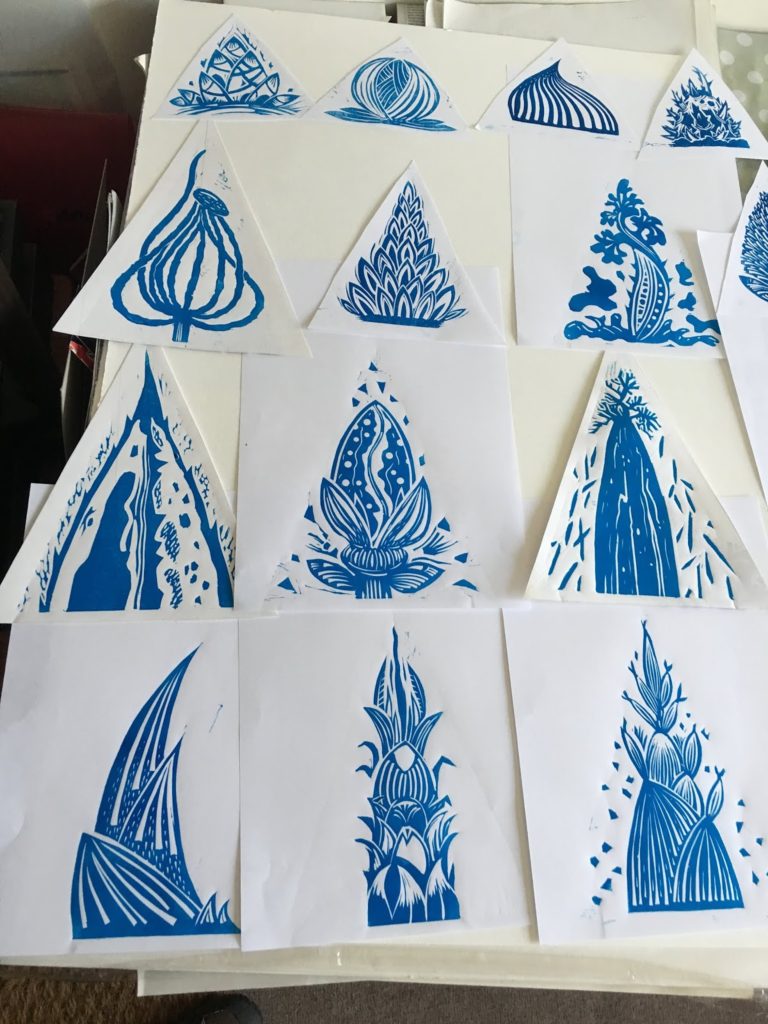
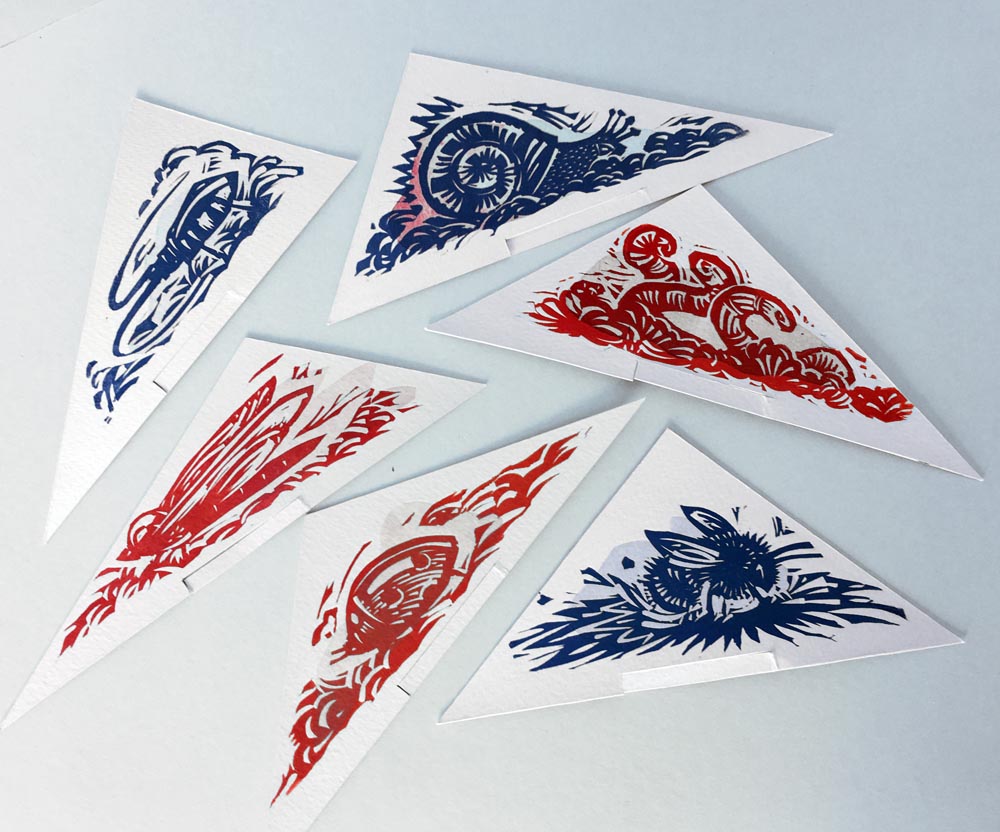
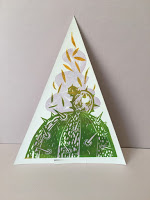
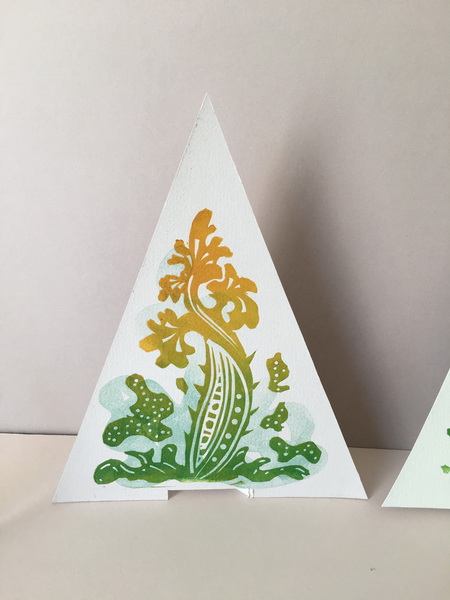
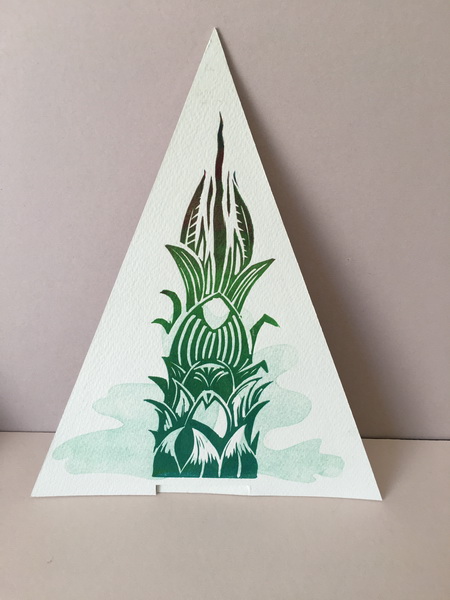
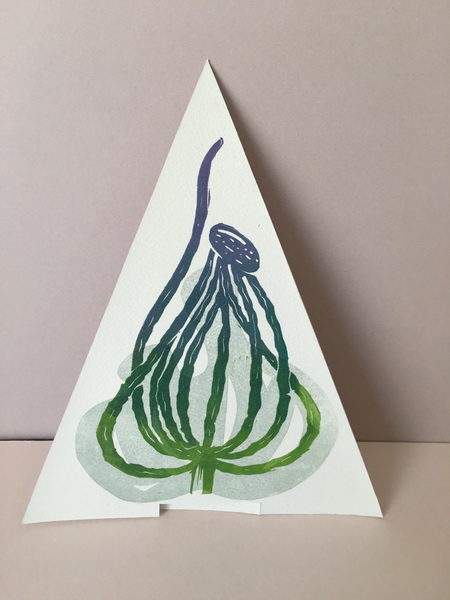
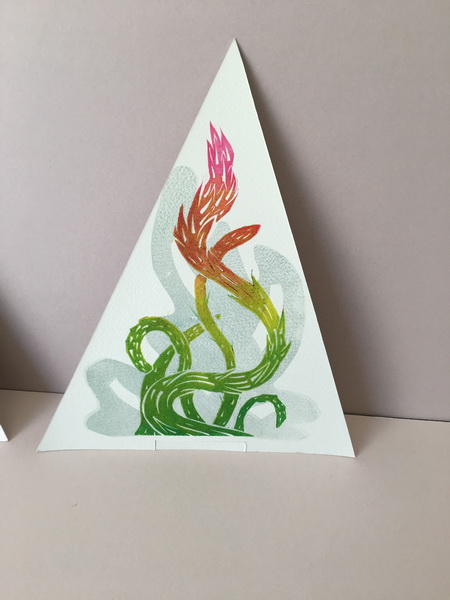
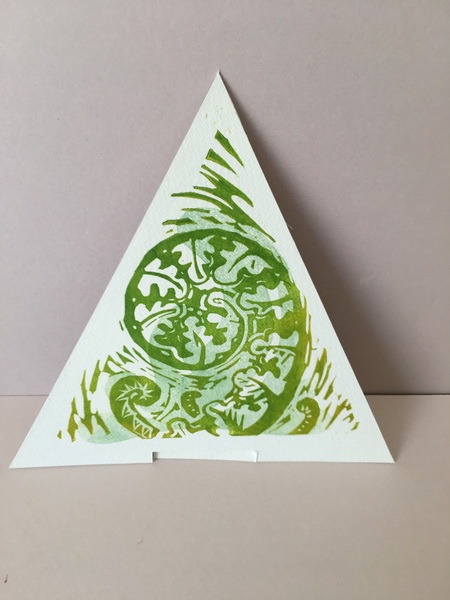
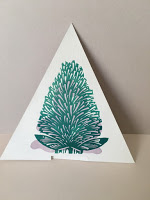
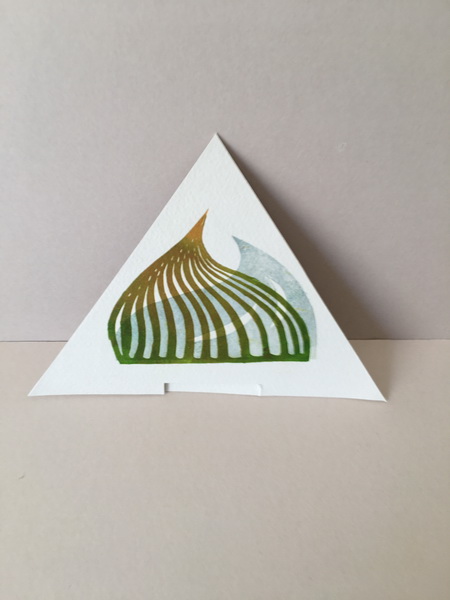
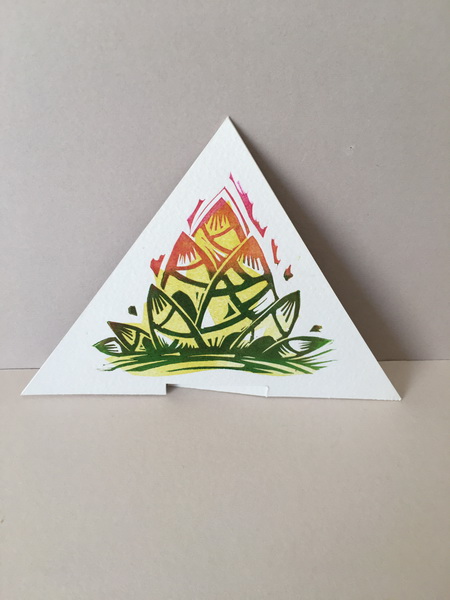
I printed the linos on 300 gsm watercolour paper and the text and illustrations on a medium weight photo quality computer paper. Then laminated these onto the lino tips which gave them enough strength to enable them to stand up once the small stand slots were cut in the base.
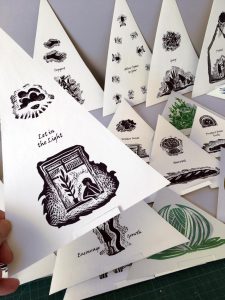
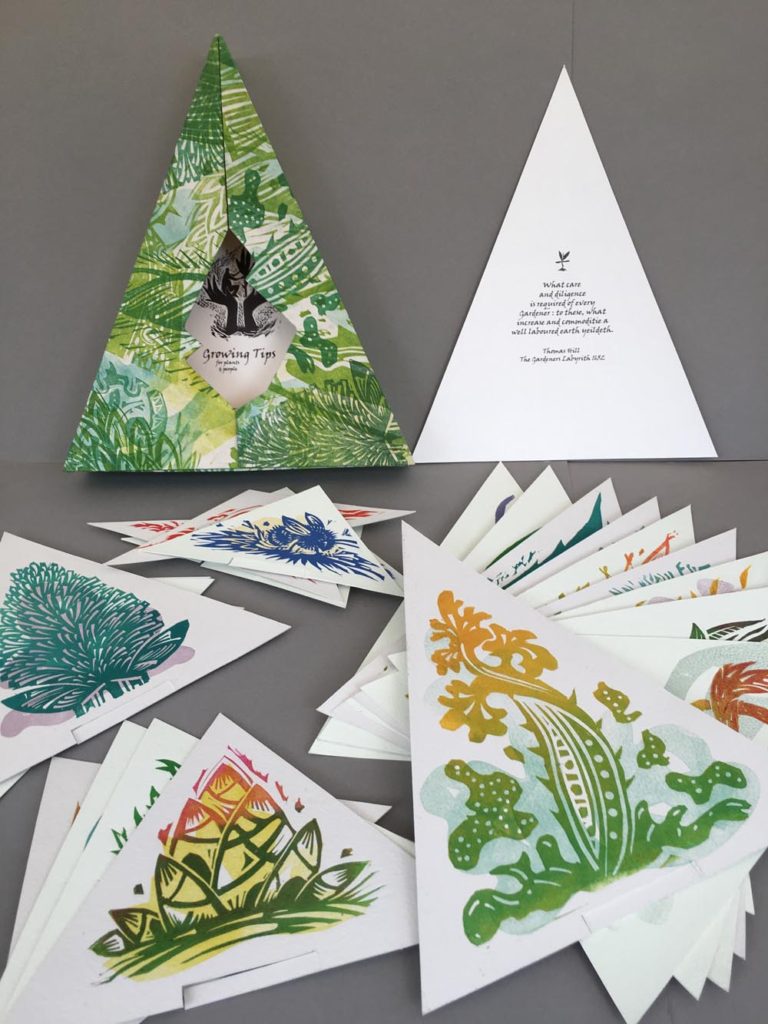
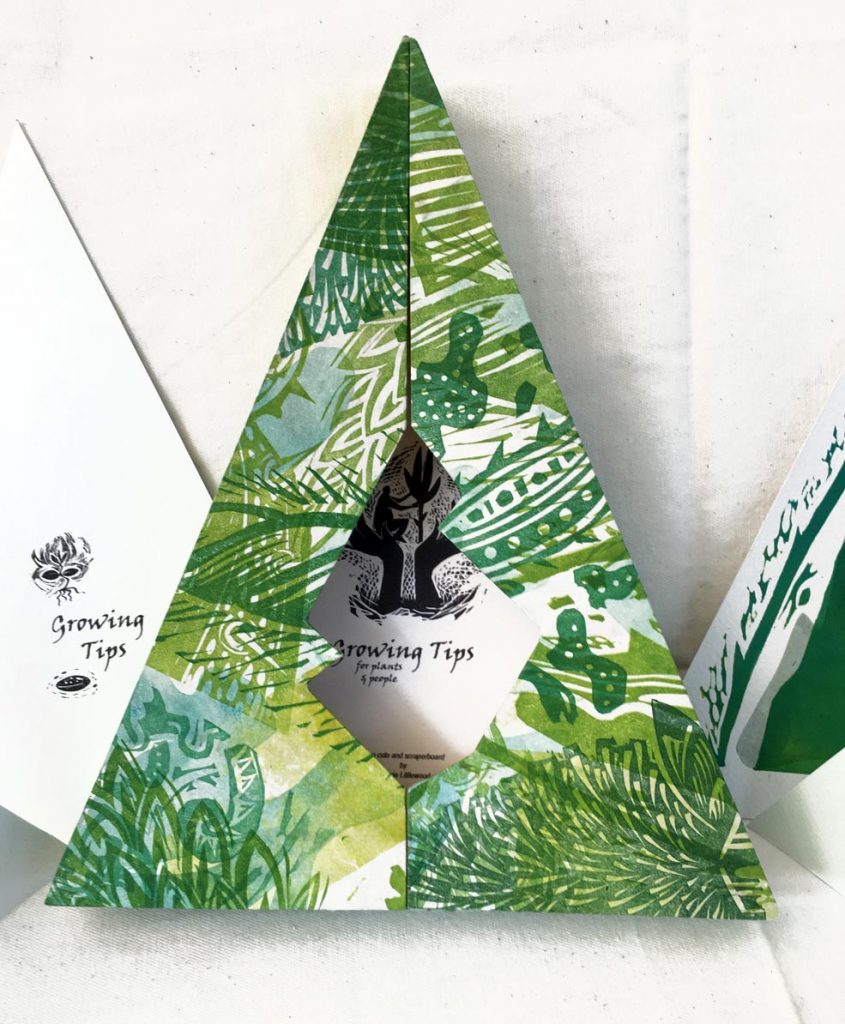
Growing Tips

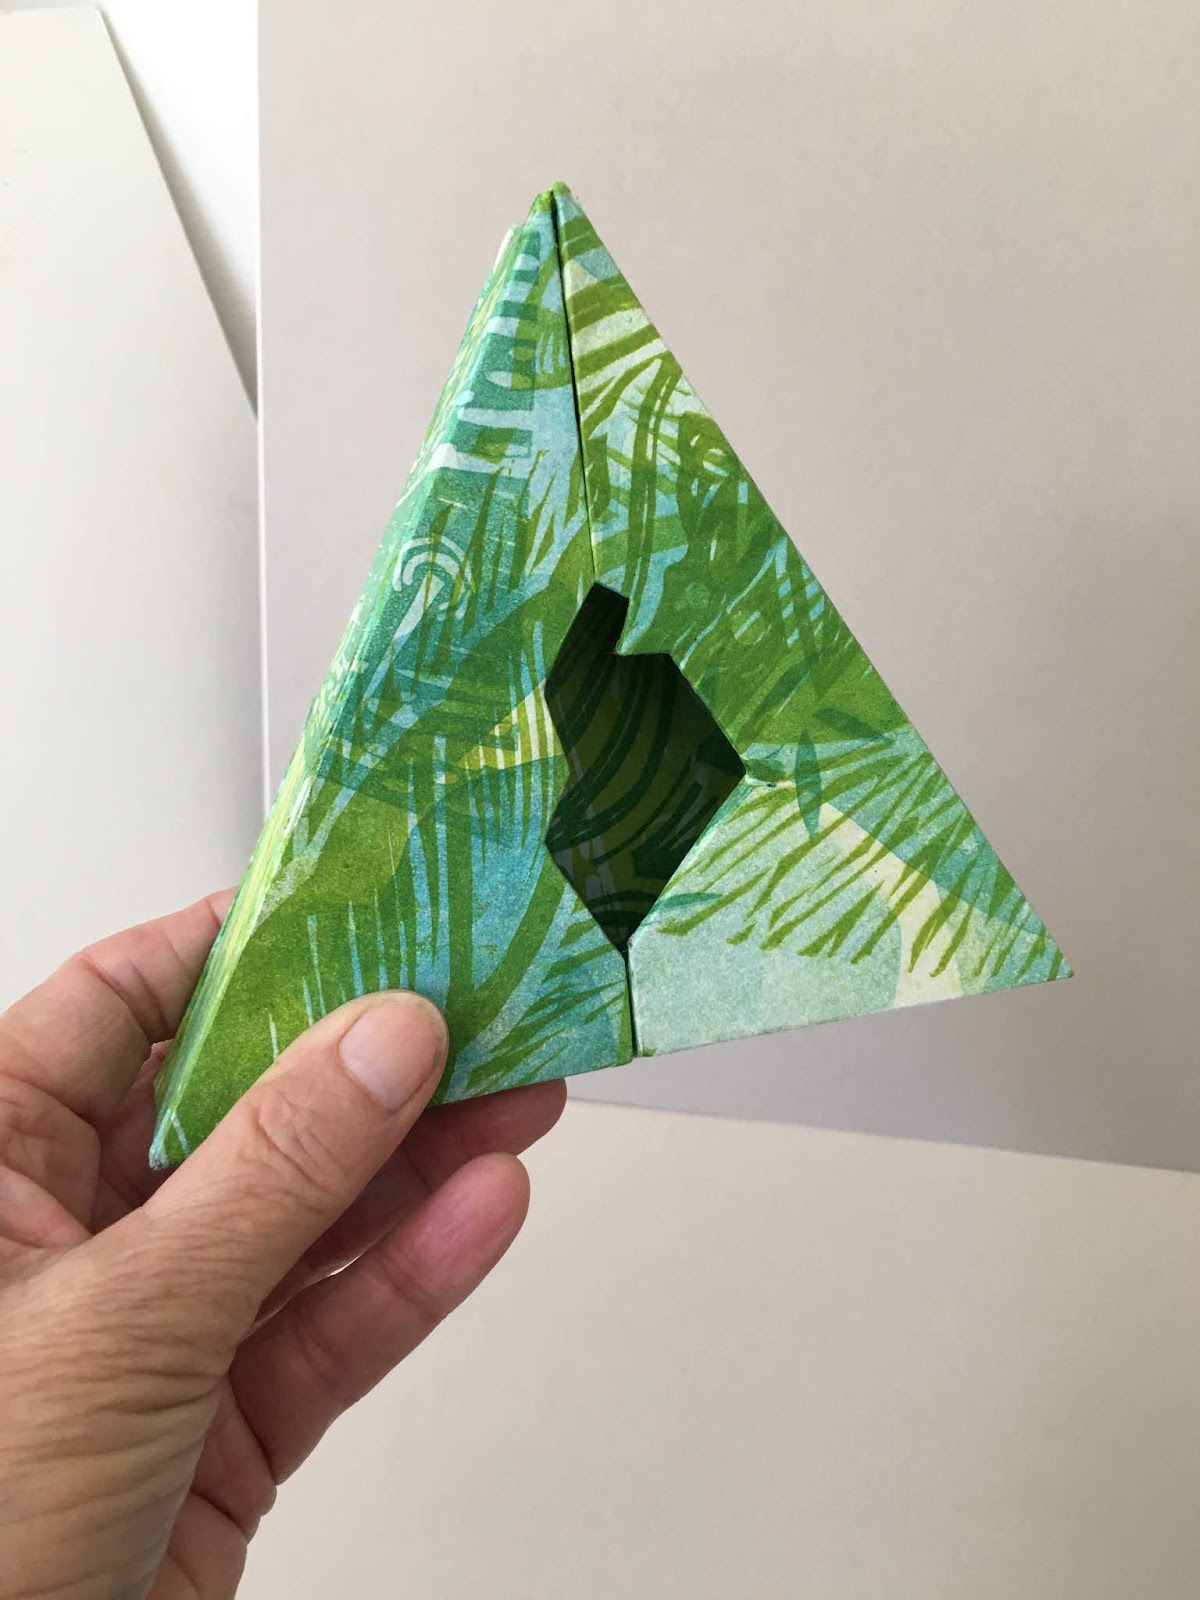
I printed lots of papers to cover the box. The trickiest bit was getting the points of the cover to meet nicely at the top of the triangle. But it closes fine and quite neatly, allowing the title to be seen through the front aperture. The inside of the box is yellow…. nice!

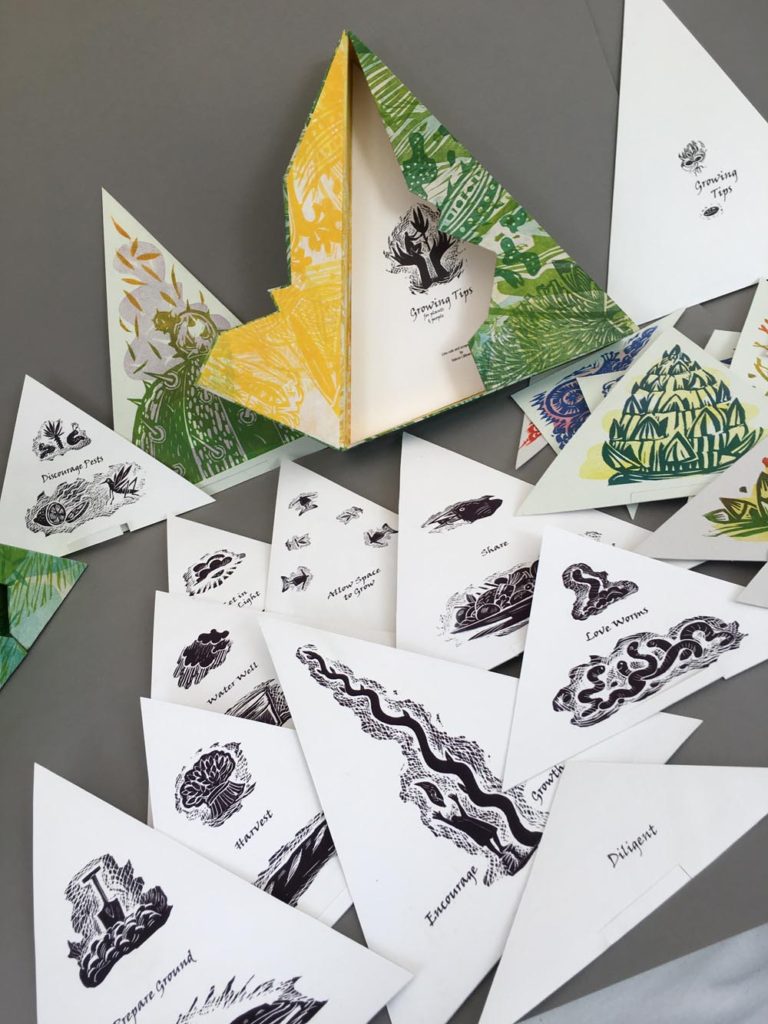
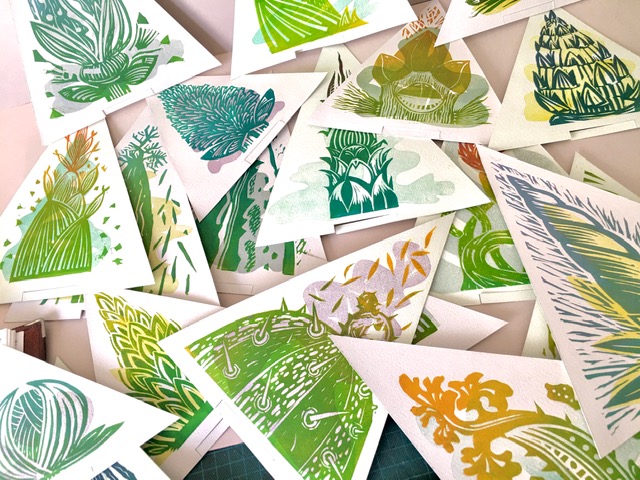
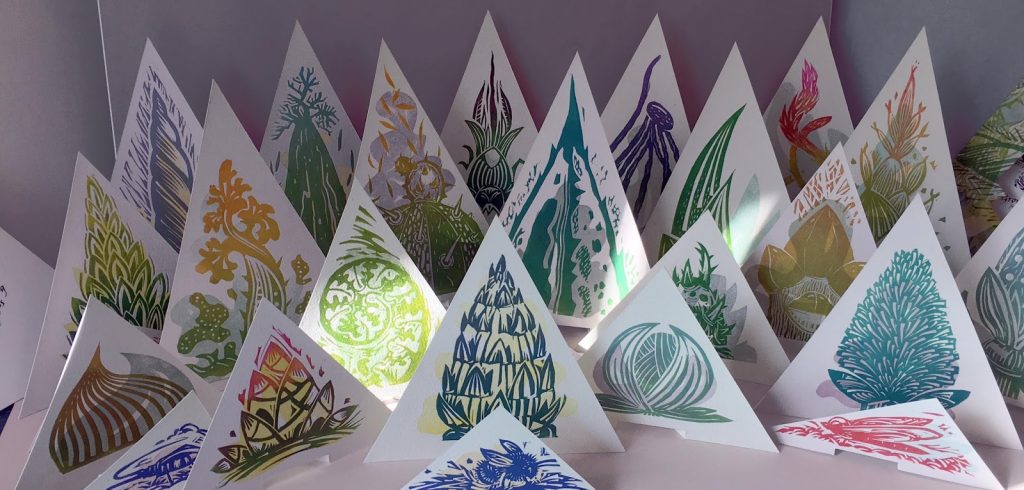
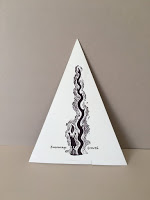
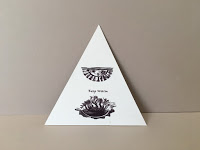
Here is a gallery of the tips and their “tips” 🙂


One project resolved…. about 50 more to go. The list of projects I want to do gets longer as the time I have gets shorter ! Oh so MUCH to do!

Again I have to thank Sue Doggett at City Lit boookbinding for advice and encouragement! She did say that a triangular box would be tricky.. she was right!


Growing Tips: Part 1

Over the summer I worked on two projects which I haven’t yet had time to write about.
This first one was something I had been wanting to do for a couple of years.
I am trying to make better boxes and am rather fond of the shapes of the tips of growing plants.
So I made a triangular box to contain the work.  Well in fact I made two. One to see how it would work and then the one which would house these ” Growing Tips”

Roughs and first go at the box…. Yes, its not simple to make a triangular box that works nicely!


It was an exercise in combining printmaking. (Lino and collagraph) with some scanned digital work.
In my mind there would be a small field of emerging plants and on the back of each plant a tip about how to encourage growth in both plants and people.

First I designed and cut the blocks for the tips and proofed them:

I wanted them to stand up so made lots of paper trials to try to find a stiff paper that would laminate and print well as well as stand up. I eventually chose some 300gm watercolour paper. I could have used a thin card mill board but then there was the problem of cutting a tab… there is always an issue. And it seems to me that lots of time is spent trying to solve these incidental problems than actually doing the creative work.

I decided to make a small background shape to add to each design, to add some more colour and made a registration sheet to try to get the designs in registration. Trying not to waste paper I jigsaw cut the paper to fit in as many triangles as possible. I have three different sizes of triangles.


Printing was interesting but rather time consuming. I tried a few different techniques including rainbow rolls.. some worked and some didn’t and the watercolour surface sometimes poses a challenge to print, getting the ink consistency and pressures right were a bit tricky.
In the end I had 26 images good enough to use.

I had printed some papers to cover the boxes … nice!


more to come 🙂

Binding the Pigs!

I am really busy right now with a new small book project,  but also making some, albeit a bit slow, progress with the “Salute the Pig” books.
I have “assembled” one trial binding. I say “assembled” because it’s definitely trial and error and there are still some things to get right in the stitching and spine areas. But it is coming along. I printed the endpapers and cover designs some time ago:

IMG_2325

IMG_2340

Trotting trotters for the endpapers…

IMG_2398IMG_2400

Two halves of one very big pig for the cover….

IMG_2378IMG_2397

End papers pasted in….

IMG_2395

Cover assembled…

IMG_2412      IMG_2413

One book bound :)… only another 24 to go…AND…. Chris is working hard on the accompanying little recipe book. “A Feast of Pork”…

IMG_2447IMG_2446

All tried and tested here at home ….MMMMMMMM delicious !

Half the Hog in Amsterdam: Part 1

Last week we were in Amsterdam to print the Pig Book, “Salute the Pig”. Its been a couple of years in the thinking stage, so it was very nice to see it at last become an almost reality.

I say almost because I now have to design end papers and cover and then bind them, but they are looking splendid. We had booked a week with the excellent  Thomas Gravemaker at LetterpressAmsterdam. 5 days is a very short time to print even this small book and if Thomas had not done the typesetting we probably wouldn’t have made it.

IMG_2170
4 of the texts tied up on the galley.

While Thomas was finishing the texts, I started printing the images from the mounted lino blocks. A little bit of extra shim was needed to get the block to just type high but they printed pretty well!

IMG_2118

The Berkshire block locked up on the bed of the Vandercook

Proofing each block is important because a letterpress press can pick up the odd raised cut mark so a little bit of remedial cutting was made on some of the blocks, Due to the large amount of black in these prints it was necessary to double ink each image.Which means running the inking rollers over the blocks once prior to the print run. After printing the tree book pages for 5 weeks my right arm must be getting stronger?

IMG_2124

The first rack of images..I am printing 30 of each for a book edition of 25 books. These plates will be trimmed by hand and then tipped in to the bound book.

Thomas finished the texts, then there was proofing and checking the texts again and again for spelling mistakes, spacings and incorrect letters. You think it is all OK and then you find another!

IMG_2130

Texts ready for proofreading.

By the end of Tuesday all the 300 plus plates were printed and we started on the book pages. We printed page 1 and page 24 first because these contain two small linocuts which will need to be dry before printing on the reverse.
Proofing the blocks,and printing the edition.

IMG_2138  .IMG_2146

Wednesday we started printing the texts!
Part Two tomorrow.

Happy New Year!

Happy New Year to all my friends and readers!
My simple wintery owl print as a greeting to you all.

Winter jc
Winter
, lino cut 5×5”.
After an Autumn lull, I am looking forward to a really productive year. Already the projects are piling up; more drawings more prints and more pigs of course. All starting…optimistically…tomorrow.I do like a good start to a New Year!

After Amsterdam….

Three great weeks in August, some serious letterpress printing, lino cutting, cycling, fabulous museums and galleries, good food, drink and company.. and plans to return for even longer next year.
I will be putting some post s up about my time there, which if you are not a letterpress fan may look a bit dry. But my aim was to lean more about the capabilities, restrictions and potential for future projects.
I achieved all that and more thanks to the very excellent Thomas Gravemaker at LetterpressAmsterdam and the Vandercook.
More projects planned….. : )

And Another Hortus Book
Before starting the project with Thomas, there was by chance a short three day “Make a Book” course. ie cut linos, make etching plates, print them; hand set type,print it; bind book. Sounds fairly simple but is a huge amount to do in 3 days in a class. The course was run by Thomas, Carola Rombouts and Thekla Ahrens.
It was excellent. As I was in Amsterdam to print part of my Masters project it seemed appropriate to keep the theme going.
Just time for 5 of the 7 Janus herbs this time …
Simple imagery, typesetting and just 2 colours.

    book1

Proofs, wood and metal type, lino and stamps. And the finished book.


Covers …


Double spreads..

Simple, with super fast lino cutting, but many more techniques understood and learnt…Great ! More Amsterdam printy stuff soon. Just a couple of weeks to go and the course is up!

Coot Number 2

I have returned to the coot sketches and am planning another print to be a companion to Rook. I am not sure if or when I will be able to find the right sort of wooden typeface so might just have to cut it myself. I have doubts about my ability to do this but it would be good practice.

IMG
Black and white thumbnail.

I made a rough proof and scribbled on it a bit with white chalk to  see what more I need to cut away. I made quite a few colour roughs but in the end decided it will just be black and white this time, like Rook.

c-plate-proof
Inked up plate and first proof After a bit more cutting away, proof number two.

proof-2-bg

Lots more experiments to come with this one 🙂

The Blue Hedgehog

On Saturday we went to the Fitzwilliam Museum in Cambridge. It is so many years since I was last there and I had forgotten how rich and wide ranging is the scope of the museum.
I found many more wonderful beasts from all over the world, but the best of all was the small blue Egyptian hedgehog.
We do love our hedgehogs but I had no idea that the Egyptians revered them as symbols of regeneration. In the subdued lighting of the gallery the hedgehog has a certain mystery. The museum’s record, brightly lit and with its measuring scale and all the chips so evident is not quite so magical.


Fitzwilliam Museum photo Faience hedgehog
Tomb 655 Beni Hasan Egypt
length 6.25 cm
width 3.75 cm
Twelfth Dynasty
Middle Kingdom
Date 1976 B.C. — 1793 B.C.

After a bit of research I found quite a few other  Egyptian Hedgehogs. Most surprising is the real and long eared Middle Eastern hedgehog.

Berkah.13.Kookherd_كوخرد

This little chap is from Iran: photo Berkah.13.Kookherd from Wikipedia

A quick internet search shows that some ancient hedgehog figures do have long ears.
This little faience amulet is from the Pelizaeus Museum  Hildesheim.

4885

from the Global Egyptian Museum

My initial sketch of the short eared Fitzwilliam Hedgehog more as I saw it, in the tomb like low light of the museum display.

fitz-hedgehog-bg

Then some sketches :

h-sketches-2h-sketches-1

And then a quick reduction print:

H-hogs-

The Blue Hedgehog

blue-h1-bg

The little blue hedgehog on a windy moonlit evening with swaying palms.
Reduction Lino image 6 x4 inches

Coot and Willow Print

I’m still working on the lovely cootses and as it’s a while since I did any lino work I made a quick trial reduction print to work out some ideas. It’s an image I want to develop along with some others. I like these neat birds.

c-sketches-bg       coot-6-bg     coot-roughs-bg

I did a few initial drawings and tonal sketches for what will be a 3 colour reduction.

coot-lino

Various first stages and the lino block

coot-prints-1

Some final stages with various different colourways. I like the image, but the printing needs work :).

Maybe one really good one out of 6.

coot-pt-bg

Coot and Willow..  image 6 x6 inches

I see the coot pottering about on the shoreline here, in and out of the willows. There is always a fisherman somewhere.

The coot is large, the willow tree is small. That’s just how I wanted it.