Inspired by my good friend Dy in the UK , I have been learning something about etching over the last few weeks.
Not much, but enough to realise how very tricky, time consuming and complicated it is. Dare I say I have barely begun to scratch the surface..:)
It seems a deceptively simple process. Coat a small zinc plate with some hard ground, (a combination of asphaltum, beeswax and rosin) scratch through this waxy surface with a pointed tool, immerse in weak acid, (which etches into the plate where the surface has been revealed) ink up and print.. easy!
What makes it so difficult are the mind numbing variety of options you have, starting with the different types of plates and grounds, the time in the acid, the inking up, the paper, the pressure on the press and combinations of all of those… however, I am giving it a go.
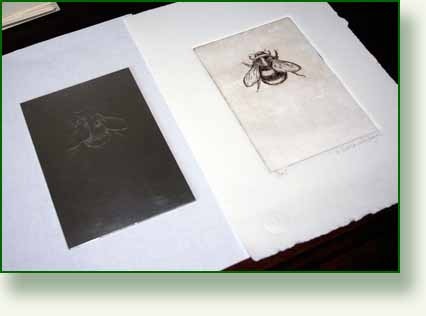
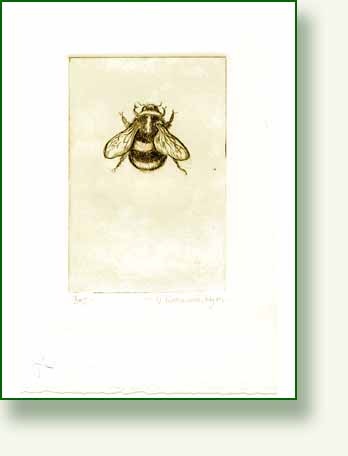
My little bumble bee seemed a natural subject so here is my first small bee print.
Plate and first print in burnt umber on Strathmore, plate size 6” x 4”
First print…
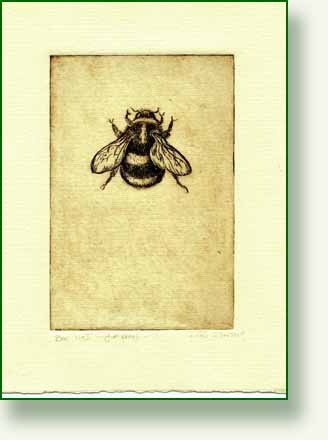
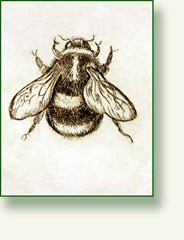
Second print, on a laid cream Rives BFK paper. It seems that etchings are very difficult to scan, the computer just wants to merge all the fine lines together in a jumble of pixels , so here is a closer detail of the bee, which is about 2 inches from top to toe.
I am amazed at the sensitivity of the process.
The tiniest lines with only a short exposure to acid will give the finest results if correctly inked etc. ……..but so much to learn and so many pitfalls along the way as I am learning!

