12 Trees Book: More Printing

Day Four: Monday:

Today more printing of the name blocks. Having printed one side of the separate sheets we are onto the reverse. It is Monday and over the weekend I had managed to forget the position of the deckle. Rather crucial for the finished book.
Only 10 wrongly printed sheets, so could have been worse! Its just a matter of learning by mistakes but hey that’s printmaking.
Printing this way needs intense concentration as every sheet is hand fed. Every sheet has to be kept pristine and taken off the cylinder at the end of the impression very carefully to avoid getting ink on the deckles. Mostly I succeed. Positioning the paper exactly in the gripper…the right way up is the first potential pitfall:

IMG_2007

This one is just fine!  If wrongly positioned it will cause incorrect registration on the sheet, which then has a knock on effect on the subsequent printings.. not good.
Then comes the impression:

IMG_2010

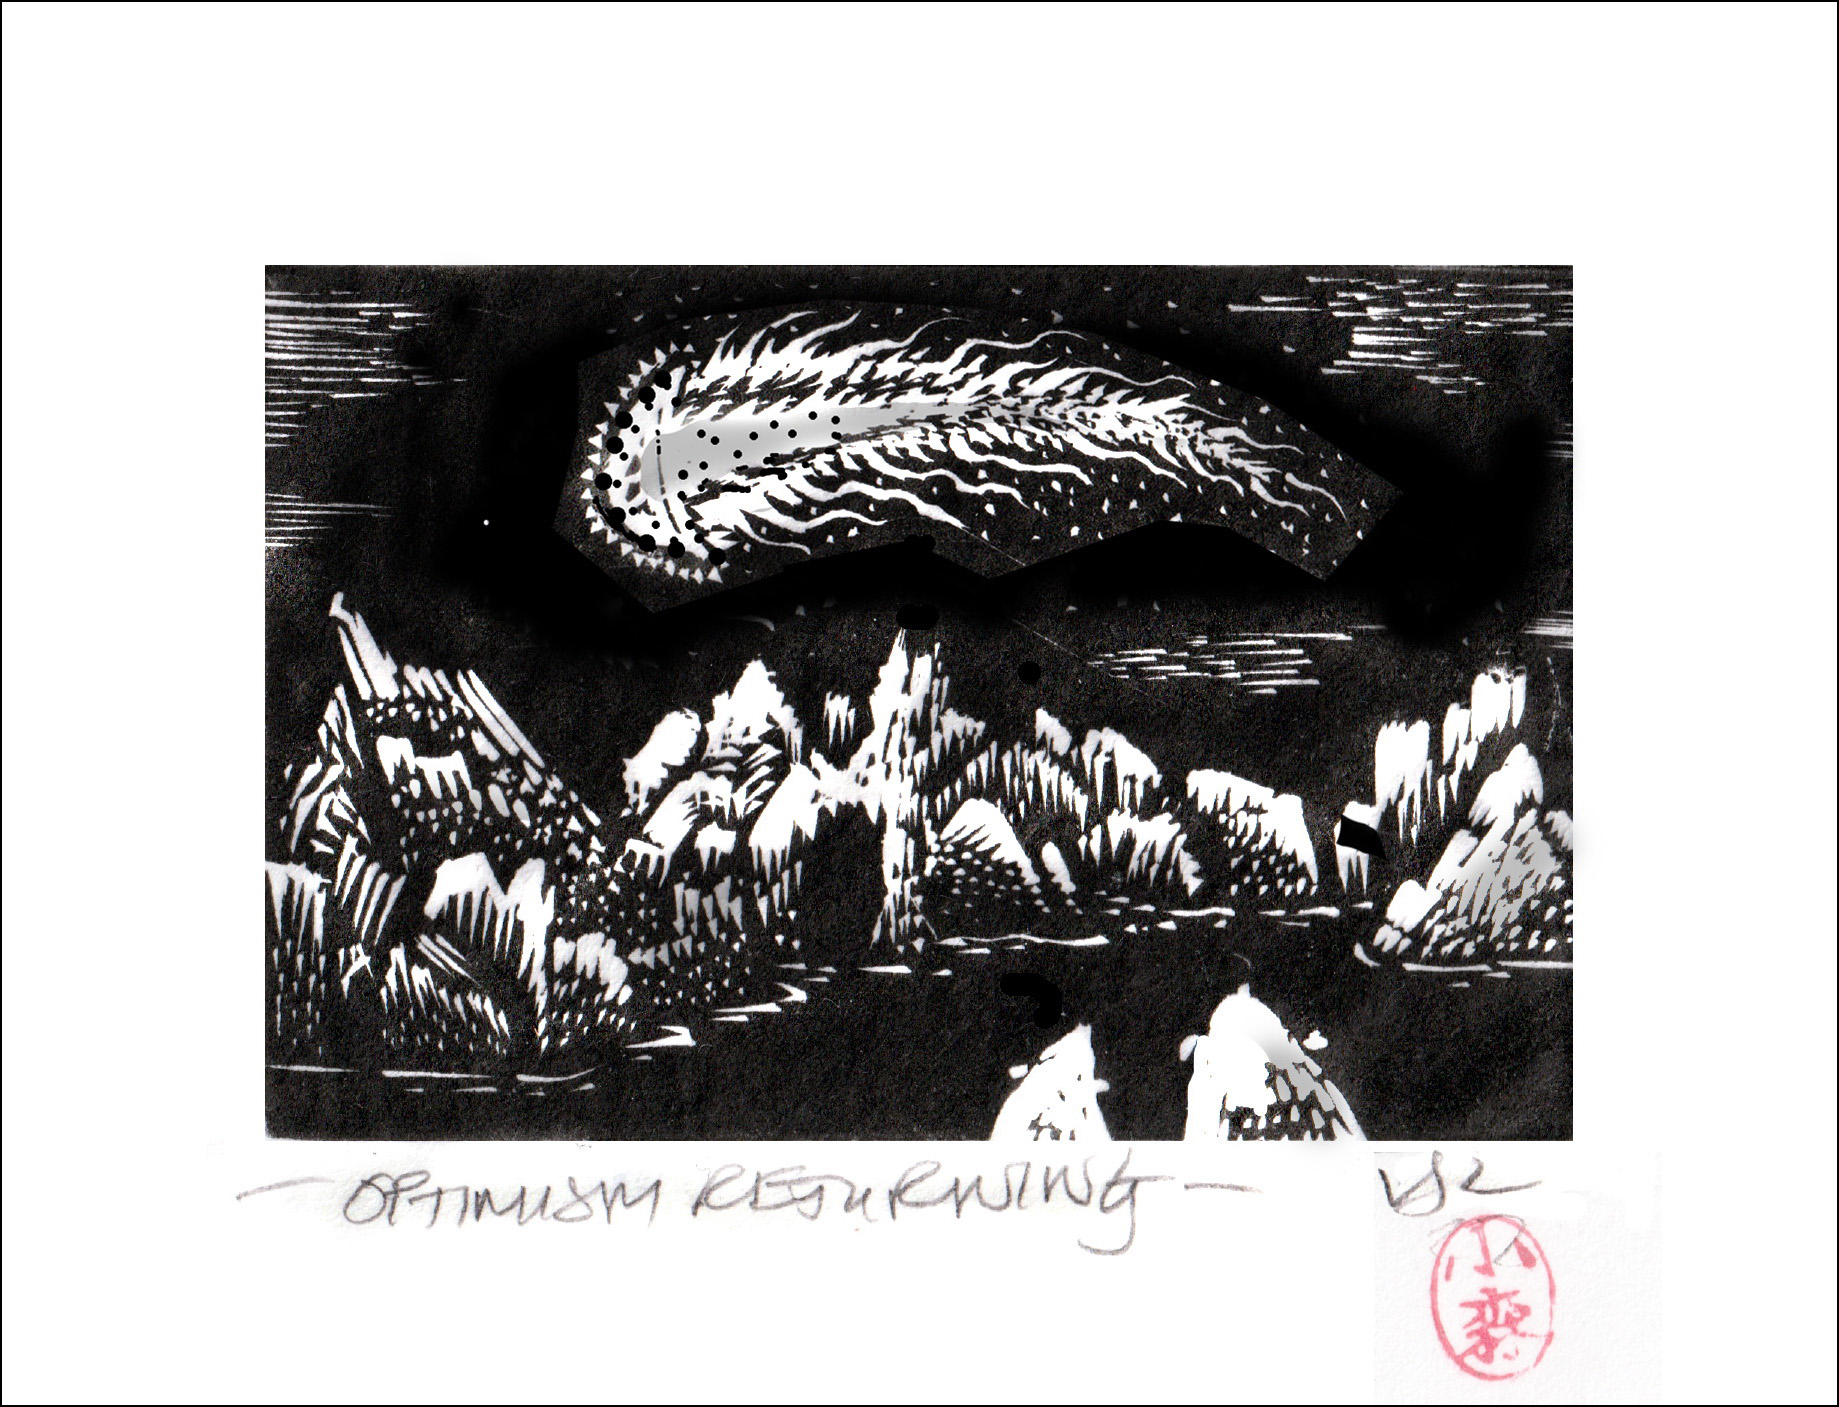
Here the “Oak” print, still on the cylinder, block perfectly positioned on the print bed by Patrick and then perfectly printed by me (the easy bit). The press inks up the block as it goes which is the joy of it. There are 4 ink rollers.. and therefore 4 opportunities for ink to transfer to somewhere it shouldn’t be or for me to catch the edge of the paper in a moment of lost concentration. Hmmm.

Day 5 Tuesday

A bit of a slow day due to a problem with some ink transferring to the paper from somewhere in the press. Fixed eventually by some dismantling and deep cleaning. But today we finished all the tree name plates. Hurrahhh

IMG_2013

Press being cleaned… slow job.

I am printing 25 copies of the book in the hopes of achieving 20 good ones. Each sheet will have to go through the press at least 4 times.  Keeping the sheets pristine is a challenge.At least 5 extra copies of each sheet are also printed as set up guides for the registration of the next element.

IMG_2011

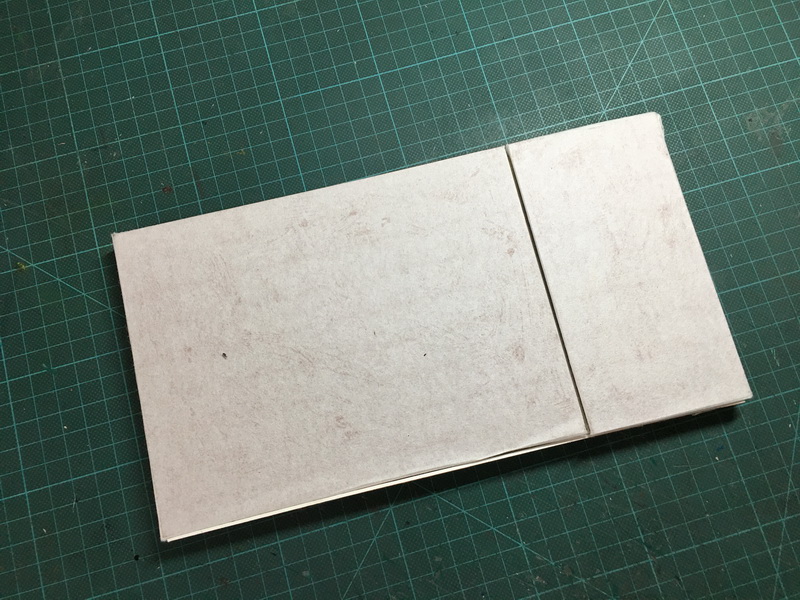
These are my two working paper stacks. It is the whole of the edition plus the extra make ready sheets for positioning.

Day 5 Wednesday

Today we finished printing most of the small image blocks.
All the name blocks are done plus the small birds.

IMG_2015
The last name plate and small bird spot illustration.

Then the last small block, for the title page caused a headache due to the inconsistencies of the wood plate. The grain falls away slightly on one side which is a real pain. On the wood itself it is barely noticeable and I would not have known when cutting the ply. I might next time though!

Patrick has enormous patience in continuing to try various ways of adding packing, and re positioning the block to try to improve things. It will be fine, some things are hard won though.

IMG_2020
Patrick being very patient

Small strips of paper are put under the large block of low base to try to raise the low point just a millimetre. Trial and error is the only way. Tomorrow we will print it.

IMG_2016

My checklist of print runs completed.. almost half way.

Starting to Print 12 Trees

This week the printing of my 12 Trees book got underway.  I am printing the book at Logan Press with of course much help and guidance from everyone there, especially Patrick Roe, who owns the company, Tom who is an apprentice there and Bob the excellent compositor.
Before edition printing can start there is much to do in the way of testing paper, print quality, setting up the press etc etc. This takes quite a long time. Letterpress printing is not for the impatient.

IMG_1983

Firstly the plywood plates have to be made up to type high. Here Patrick  is setting up  a test plate using low base and small clips to hold the plates in place. Getting the correct printing pressure is a mix of packing the plate and packing the paper and a sprinkling of magic dust.
Because the plywood can vary very slightly each and every plate..30 in all… have to be both set up and printed individually.
 IMG_1984

The plate must also be positioned correctly on the press bed to print in exactly the right place on the paper… each and every time.

IMG_1986

Once the positioning and pressure were set up we made some test prints but found snags due to the length of the press bed, the roller, the positioning of the large plates on the page etc etc. We achieved a lovely print but the paper flipped up at the end of printing and caught on the block leaving marks on the margin of the paper. How frustrating!!  Everything else was perfect. We tried many ways round this but in the end the decision was made to print the large images separately. There are often compromises in letterpress printing. Sometimes that can lead to a better result…? I am hoping this will be the case.Day two was setting  up some test type and the tree name blocks to make sure the press could cope with the paper size, the position of the title blocks and texts and to see how the paper would print these two elements.  I am hoping to use lovely Somerset paper produced by St Cuthbert’s Mill in Somerset which has a soft matt surface which will complement the woodcuts perfectly.

IMG_1996

One of the tree name blocks set up for printing and

IMG_1988

Two lines of type set…

IMG_1989

then locked up in the chase with the help of Bob,
IMG_1990

and on the press bed perfectly positioned.

IMG_1991

One of the test prints on the Somerset which worked out beautifully. Day three, yesterday, we started to print the edition. This involves taking apart the dummy to get the correct pagination. The dummy is crucial as a guide as is page numbering!

Patrick set up the tree name blocks, looked after the individual packing and the press and I eventually took over the printing. I am printing 20 of each page hoping for an edition of 15 books, plus some extra sheets on cheaper paper for positioning the type/other images for the next print run.
Each piece of paper will go through the press 4 times so there are quite a few opportunities for error.. especially as I am doing some of the actual printing! Each sheet is hand fed through the press so concentration on the correct position of the paper in the gripper is essential.I calculated I printed 120 sheets yesterday ! …only 75 to go for the initial print run. Then do it all another three times, then print the large plates only, another 240 more impressions. After all that I will have the body of the books completed ! Hurrahh.Next it will be on to designing the endpapers, covers and then binding the edition..Phew… maybe they will be done by Xmas!


Block Cutting, Print Trials and more Sketching

This last week there has been more sketching, first print trials and block cutting for 12 Trees.It seems slow progress at the moment but there is so much prep to do before I can even start to cut the blocks, roughs to work out, blocks to cut and prepare and more sketching and research on the trees.
However I have started trial cutting the text headers today.

IMG_1715
Elder, Elm, Beech, some too big, some too small.
It’s trial and error.
What looks fine on the block sometimes doesn’t look great when printed and next to one of the large images.

IMG_1716
5 Part cut blocks..

More sketches while the weather is OK and there are a few leaves left.

IMG_1501
Field Maples,who seem to like to be in companionable threes.

IMG_1711(1)   IMG_1714(1)
Ash Trees with their upturned branch ends and handsome black buds.

Last Friday I started looking at type at Logan Press and hand setting a few lines, proofing on a lovely little Albion

IMG_1399     IMG_1401

IMG_1402

Slow .. but progress.

Reference Sketching.

This last week I went out most days to make small sketches of the trees for the book. I find that just a short time sketching is a million times better than working from photos.
Making a sketch, especially on a very cold day, requires you look hard and make fast, hopefully intuitive, decisions. So you tend to record just the essence of tree, very useful for the woodcuts which will have to be bold and simplified.

Also I have to say that once I have sketched something I understand much more about the thing, how it is put together, what interests me about it and I remember all those things more easily, especially if I make notes.
I am in a hurry too because I need to draw the trees before they all lose their leaves. I need to make sure I draw the right tree. My bark ID skills are not brilliant

.IMG_1213    IMG_1051
Hazel and Lime

IMG_1036    IMG_1074
Alder and Elm

IMG_1229
Beech

IMG_1188
Elder
I have a tight deadline so I also took the woodblock out to draw directly from the elder tree. This old, much pruned, tree has snaky spotted branches which twist back on themselves. Wonderful and slightly sinister as befits the magical elder!

The tree prints will be based on trees I know well, what I like about them and what I know about them. A personal view rather than an archetype. I have discovered that one elm can look very different from another :).